
✂ So 80's - Shoulder Pads - DIY + Recycle!


The advantage of making your own shoulder pads is that you can have them in any fantasy size/shape that agrees with your design – so: more freedom! – plus just like me you can put to good use the small fabric scraps that remain after you cut and fit a garment – I gathered a bag lately hoping to use them as filling for something et voila! The sandwich shoulder pads!


Draw your pattern after measuring the shoulder on your garment, put it on a piece of fabric that's folded in two and cut 


Put some scraps on one half


Add more scraps, a thicker layer towards the fold line


Fold and pin; the layer pressed between two fingers should be 2-3 mms thick


Hand bast along the round edge


Overlock the round edge 


Fix the scrap layer by straight stitching a few lines,  parallel to the edges. Use the largest machine step. They should be pretty stiff.


Et voila! Check that they are the same consistency and have the same appearance.


Fix the shoulder pad by hand in 2 points (middle of both curved and straight edge) - on the shoulder line, on the inside of the garment 


View towards the interior of the sleeve, shoulder pad above


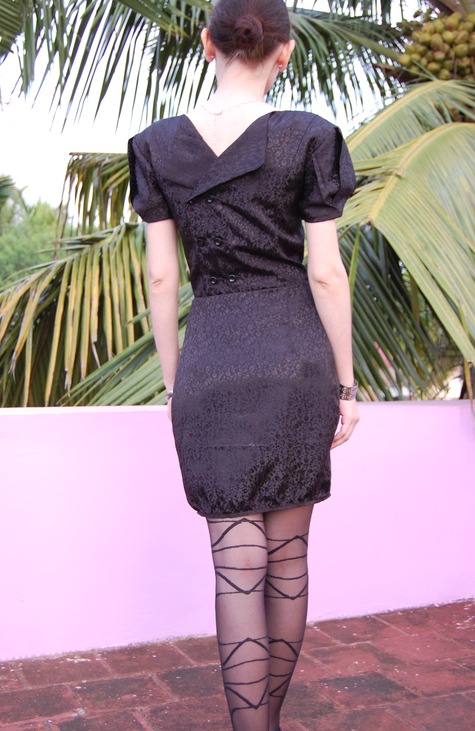
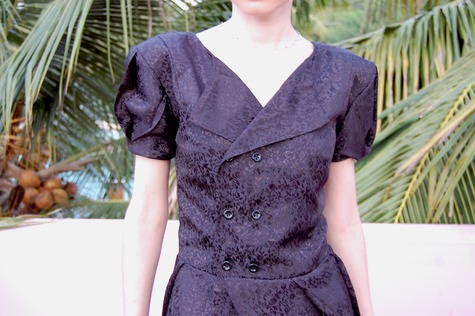
            I definitely enjoyed them on my Black Mambo Mamba! When projecting a shoulder line you plan to use with a pad, make it longer than usually, it should fall on the outside at least 1 cm.


    Comments

    Popular posts from this blog

    Wrinkled Embroidered Floral Top

    After coming back from my vacation I felt that my every day wardrobe needs refreshing. But from thinking to doing something about it - there's a long way! I had the floral fabric for a while now. Deciding about the design is always the hardest part. The premise was to make something simple but somehow that never happens:)) For years I just left these fabrics aside because I didn't get any inspiration for that simple design that is complicated enough to please me:))  I started working on this "tunic-like top" having something completely different in mind. Most of my designs imply asymmetry - that's not news anymore, is it?:)) That's what makes it click for me and I feel my best creations will always have an asymmetrical cut or detail. Other features of this top: a small cream bow on one shoulder, sleeves with ties and slits on each side. The treatment of the cream fabric is similar up to a point to what happens to my wrinkled ...

    Swatches Tute

    My Fabric Swatches Collection is so useful when I have to look for the same color of fabric, matching trims or matching threads! Here's how you can make one too! How to make this rose? Click HERE (stitch the hook on the back of the rose and at the other end make a thread loop like shown HERE ) (the sliding wooden/plastic bead makes it possible to put different swatches next to one another) Alright, any questions?? Here are a few shades I work with:

    The Story Of The Exuberance Necklace

      Once upon a time... after the big bang anyways... there was a sketch of a top for which I wanted to use  contrasting colors. Or maybe I bought the fabrics and then made this sketch... in any case, mesmerized by these iridescent shades of purple and green I took 2 m of each - let's call them gred and purpink. But the flow of this silk cotton and the idea of my top didn't really get along or I lost enthusiasm somewhere along the way, anyways after some time I was left with 2 m in bits and pieces of purpink and of course gred. The contrast inspired me however to try something twisted both literally and figuratively- and it implied thick cotton fusible canvas and machine embroidery on the edge- which seemed like a tough task for my sewing machine from the very beginning but it wasn't enough for me to give up:D. In the virtual museum of the exuberance necklace this would be Exuberance Neanderthalensis ---------->   Each side was made out ...